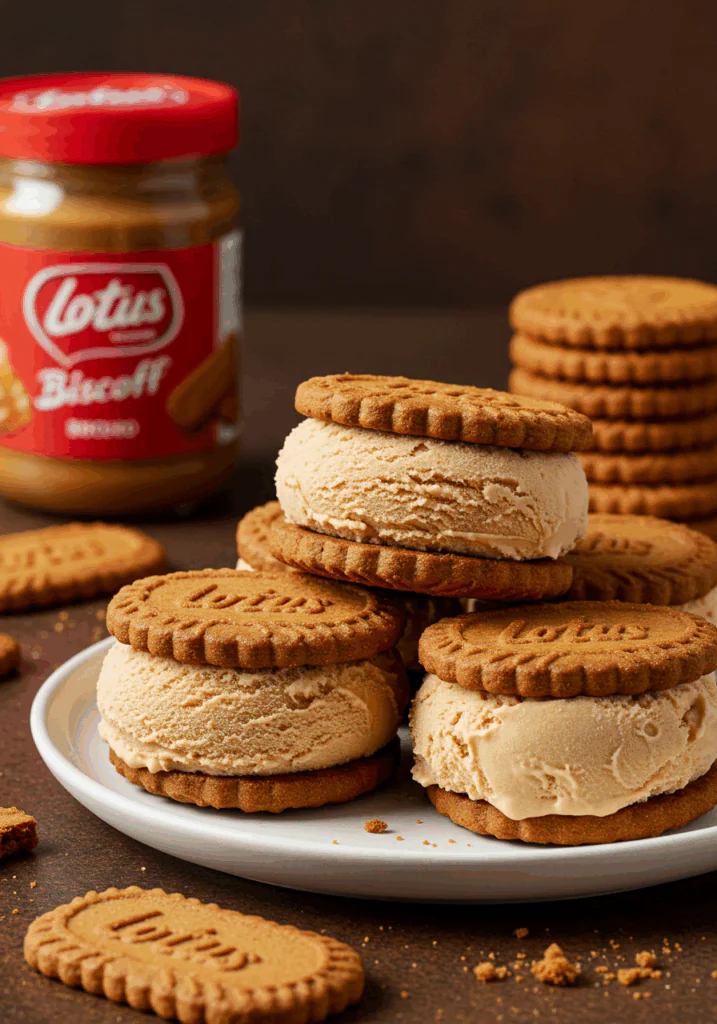
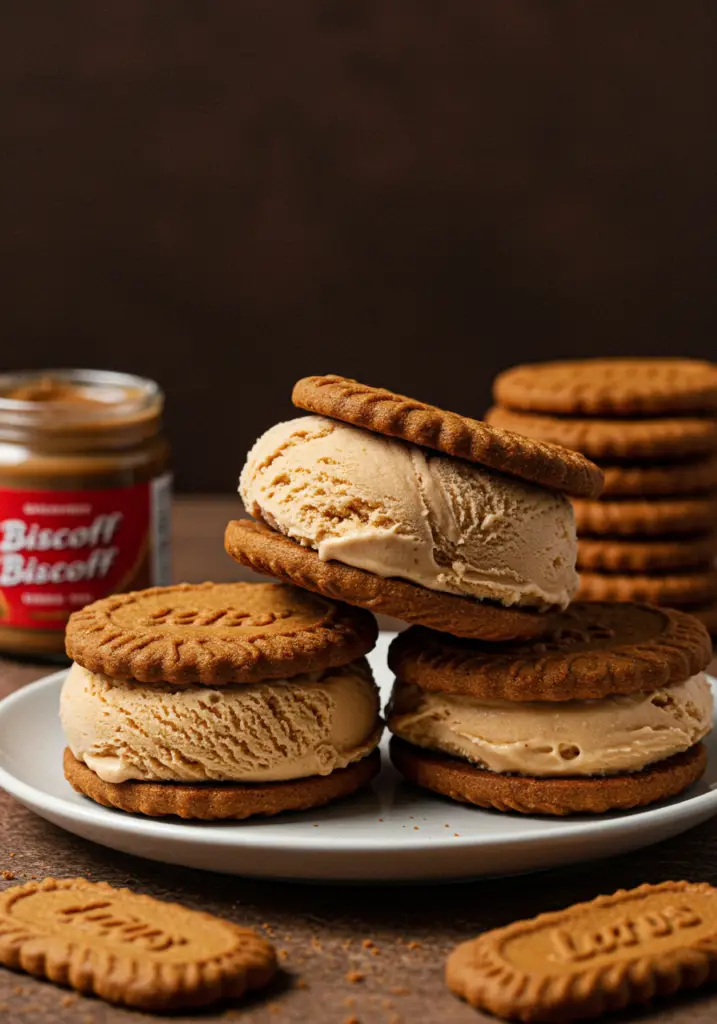
If you’re a fan of that irresistible caramelized Biscoff cookie flavor, get ready for your new favorite frozen treat—Biscoff Ice Cream Sandwiches! These easy, no-churn delights feature creamy Biscoff-flavored ice cream tucked between soft, chewy Biscoff cookies. Whether it’s for a backyard BBQ, movie night, or just a sweet craving, these ice cream sandwiches are a crowd-pleasing hit.
Want recipes like this delivered straight to your inbox? Subscribe now and never miss a delicious moment.
Why You’ll Love This Recipe
No-Churn Ice Cream – No machine required, just mix and freeze.
Biscoff Lover’s Dream – Rich, spiced cookie flavor in every bite.
Make-Ahead Friendly – Prep in advance and keep them ready in your freezer.
Kid-Friendly – A treat the whole family will enjoy.
Perfect for Summer – Cool, creamy, and oh-so-satisfying.
Ingredients You’ll Need
For the Biscoff Ice Cream:
2 cups heavy whipping cream (cold)
1 can (14 oz) sweetened condensed milk
¾ cup Biscoff spread (smooth)
1 tsp vanilla extract
¼ tsp salt
½ cup crushed Biscoff cookies (optional, for texture)
For the Sandwiches:
24 Biscoff cookies (or more, depending on the size you want)
Optional: extra melted Biscoff spread for drizzling or dipping
Optional: crushed Biscoff for rolling edges
Tools You’ll Need
Mixing bowl
Electric hand mixer or stand mixer
Rubber spatula
Freezer-safe container or baking dish
Parchment paper
Small cookie scoop or spoon
Plastic wrap or airtight freezer bag
Step-by-Step Instructions
Step 1: Make the Biscoff Ice Cream
In a large bowl, beat the cold heavy cream until stiff peaks form.
In another bowl, combine sweetened condensed milk, Biscoff spread, vanilla extract, and salt. Stir until smooth.
Gently fold the whipped cream into the Biscoff mixture in batches.
Add crushed Biscoff cookies if using, and fold them in evenly.
Pour the mixture into a freezer-safe container or baking dish lined with parchment paper.
Smooth the top, cover, and freeze for at least 6 hours, preferably overnight.
Step 2: Assemble the Sandwiches
Once the ice cream is firm, allow it to soften slightly at room temperature for a few minutes.
Lay out half the Biscoff cookies on a tray or baking sheet.
Scoop or slice ice cream and sandwich between two cookies. Press gently to secure.
For a cleaner look, use a round cookie cutter to shape the ice cream before sandwiching.
Step 3: Add Extra Biscoff Magic (Optional)
Drizzle melted Biscoff spread on top of the sandwiches.
Roll the edges in crushed Biscoff cookies for extra crunch.
Place the assembled sandwiches on a tray lined with parchment paper.
Freeze again for 1–2 hours to firm up before serving.

Tips for Perfect Ice Cream Sandwiches
Soften the Ice Cream Slightly – Makes scooping and shaping easier.
Work in Batches – Keep cookies and ice cream in the freezer while assembling to avoid melting.
Use a Cookie Cutter – For uniform, bakery-style sandwiches.
Chill Your Tools – Cold utensils and hands help prevent melting during assembly.
Wrap Individually – Store in plastic wrap for grab-and-go treats.
Serving Suggestions
Serve on a platter with fresh berries
Pair with a chilled iced latte or milkshake
Add to an ice cream sundae bar with chocolate drizzle, whipped cream, and more Biscoff crumbs
How to Store & Freeze
Storing:
Wrap each sandwich individually in parchment paper or plastic wrap.
Place in an airtight container or zip-top freezer bag.
Keep frozen for up to 2 weeks for best taste and texture.
Freezing Tips:
Let the sandwiches firm up for a couple of hours before serving for clean bites.
Label with the date so you know how fresh they are.
Frequently Asked Questions
1. Can I use a different type of cookie?
Absolutely! While Biscoff adds the signature flavor, you can also try ginger snaps or cinnamon cookies.
2. What if I don’t have Biscoff spread?
You can substitute with another cookie butter or creamy nut butter, though the flavor will vary.
3. Can I make this dairy-free?
Yes. Use coconut cream in place of heavy cream and a dairy-free sweetened condensed milk alternative.
4. Can I add mix-ins?
Definitely! White chocolate chips, toffee bits, or chopped nuts work great in the ice cream base.
Final Thoughts
These Biscoff Ice Cream Sandwiches are everything you want in a summer dessert—creamy, cool, and packed with cozy cookie flavor. They’re easy to make, fun to eat, and guaranteed to become a family favorite. Whether you make them for a party or keep them stashed for a late-night treat, one bite and you’ll be hooked.
Try them out, share with friends, and let the Biscoff obsession begin!
Preparation Time: 20 minutes
Freezing Time: 6–8 hours
Cuisine: American
Nutritional Information (Per Sandwich):
Calories: 360 | Protein: 4g | Carbohydrates: 30g | Fat: 24g | Fiber: 1g | Sodium: 160mg

Biscoff Ice Cream Sandwiches
- Total Time: 0 hours
Description
If you’re a fan of that irresistible caramelized Biscoff cookie flavor, get ready for your new favorite frozen treat—Biscoff Ice Cream Sandwiches! These easy, no-churn delights feature creamy Biscoff-flavored ice cream tucked between soft, chewy Biscoff cookies. Whether it’s for a backyard BBQ, movie night, or just a sweet craving, these ice cream sandwiches are a crowd-pleasing hit.
Want recipes like this delivered straight to your inbox? Subscribe now and never miss a delicious moment.
Ingredients
For the Biscoff Ice Cream:
2 cups heavy whipping cream (cold)
1 can (14 oz) sweetened condensed milk
¾ cup Biscoff spread (smooth)
1 tsp vanilla extract
¼ tsp salt
½ cup crushed Biscoff cookies (optional, for texture)
For the Sandwiches:
24 Biscoff cookies (or more, depending on the size you want)
Optional: extra melted Biscoff spread for drizzling or dipping
Optional: crushed Biscoff for rolling edges
Instructions
Step 1: Make the Biscoff Ice Cream
In a large bowl, beat the cold heavy cream until stiff peaks form.
In another bowl, combine sweetened condensed milk, Biscoff spread, vanilla extract, and salt. Stir until smooth.
Gently fold the whipped cream into the Biscoff mixture in batches.
Add crushed Biscoff cookies if using, and fold them in evenly.
Pour the mixture into a freezer-safe container or baking dish lined with parchment paper.
Smooth the top, cover, and freeze for at least 6 hours, preferably overnight.
Step 2: Assemble the Sandwiches
Once the ice cream is firm, allow it to soften slightly at room temperature for a few minutes.
Lay out half the Biscoff cookies on a tray or baking sheet.
Scoop or slice ice cream and sandwich between two cookies. Press gently to secure.
For a cleaner look, use a round cookie cutter to shape the ice cream before sandwiching.
Step 3: Add Extra Biscoff Magic (Optional)
Drizzle melted Biscoff spread on top of the sandwiches.
Roll the edges in crushed Biscoff cookies for extra crunch.
Place the assembled sandwiches on a tray lined with parchment paper.
Freeze again for 1–2 hours to firm up before serving.
Notes
- Soften the Ice Cream Slightly – Makes scooping and shaping easier.
- Work in Batches – Keep cookies and ice cream in the freezer while assembling to avoid melting.
- Use a Cookie Cutter – For uniform, bakery-style sandwiches.
- Chill Your Tools – Cold utensils and hands help prevent melting during assembly.
- Wrap Individually – Store in plastic wrap for grab-and-go treats.
- Prep Time: 20 minutes
- Freezing Time: 6–8 hours
- Cuisine: American


